Tomato Day: How to Can Your Own Tomatoes

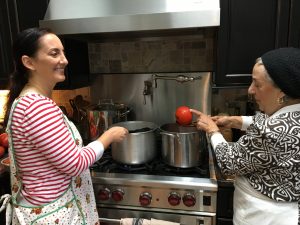
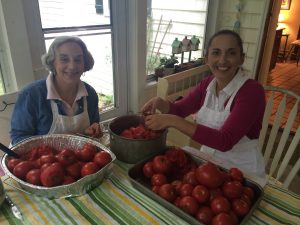
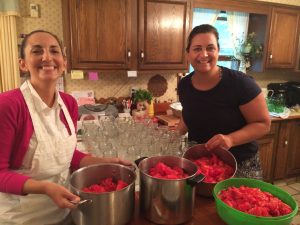
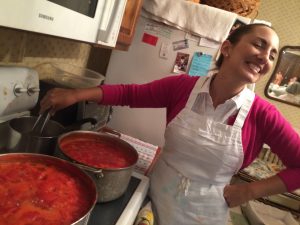
This post is dedicated to the lady on the left, my mother… She’s the one who makes the magic happen. I love her smile in this picture, and she loves the look on her brother’s face and seeing her mother’s smile (my Grandma Lanzafame)! Thanks for another awesome Tomato Day, Mom. We love you!
So, in my house, you can’t make sauce without tomatoes… and we like to can them ourselves. This is why I’m always talking about how many quarts of tomatoes you need to make this or that… because that’s how they “come” around here: in quarts, that were canned with love by the amazing women in our family and extended friend-family. In this post, I’ll try to lay out the canning process that we use. It has a lot of parts, but each part is simple, so if you have exacting standards, patience and time, anyone can do this. As my mother would tell you, described below is the “Open Kettle Method.” I’m sure there are a number of different ways to skin a tomato, so to speak, but this is the time-honored method of the Calvano family. We try to gather together as many of us as possible to share in this labor of love, and at this point, we are three generations strong, plus a few sister-friends to add depth to our bench! In these photos, you’ll see my mom, my sisters, and my sister-friends. I am so proud to be sharing it, them, this, with you. Please enjoy every minute of your Tomato Day.
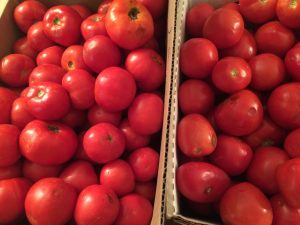
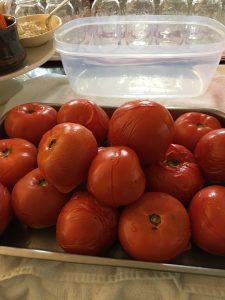
Step One: Gather your tomatoes.
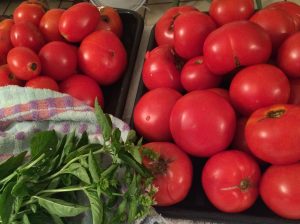
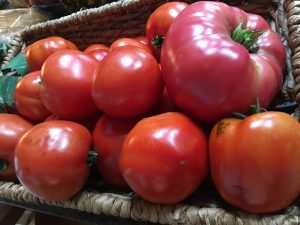
We like to can at least 100 lbs at a time…but you can use any amount– the steps remain the same! You can harvest them from your own garden (my sister, Susanne’s home-grown are pictured on the right), or pick them up at a farm, farmer’s market, or arrange a deal with the produce manager at your local grocery store (that’s what my mom did this year). You can usually get crates/bushels of tomatoes for about $1.00/lb, in 25 lb crates. You can use any kind of tomato, really, but the larger, more meaty varieties are the easiest to peel and can, and yield the richest sauce (the more pulp and seeds a tomato has, the more watery it will be, and that makes a thin sauce). I love oxhearts and heirlooms.
Step Two: Set Up!
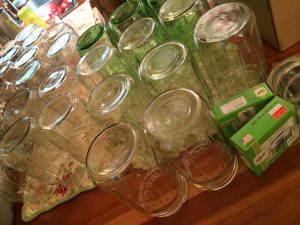
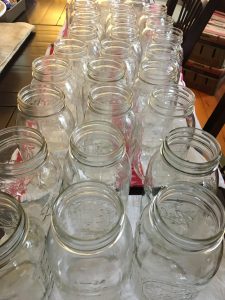
Set up is the key to success here. This is what you need: fresh basil, one-quart glass jars (Ball or Mason), lids, rings, table salt, kitchen tongs, canning funnel, slotted spoon or strainer, 1 teaspoon measure, pot holders, large pots and pans and bowls, and counter/table space.
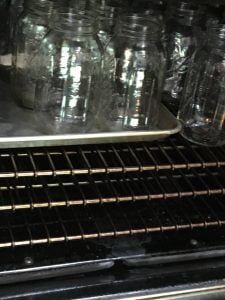
Set up your jars. The jars need to be sterilized. Either dip them in boiling water, or run them through the dishwasher. Be careful not to touch the rims once they are sterilized, so that you can get a perfectly clean seal when it’s time. Line up your jars on a table or counter.
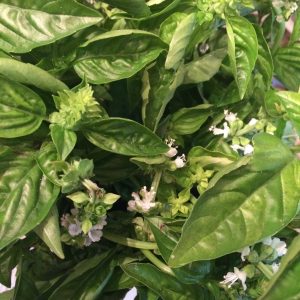
Set up your basil. Wash your basil and allow to air dry. The basil needs to be plucked from stems and set aside in a large bowl. You will need one-two basil leafs per jar of tomatoes.

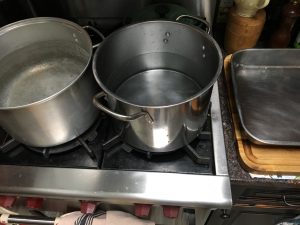
Set up your tomato-dipping station. You will need a large pot for boiling-hot water, a large pot for cold water, and a large pan for tomatoes that are ready to be peeled. See below.
Set up your snack station. As far as set up goes, don’t forget to feed your workers! No matter what quantity you’re canning, it’s a long process, which may span several hours and a few meals. If you’re doing 100+ pounds, you’re going to need a team, and you don’t want your team to be hungry! Make sure you put out a nice spread to keep your workers happy. This year, my mom made two quiche, I made blueberry muffins, and we had an assortment of chips/veggies/dip/hummus. It did the trick.


Set up your tomato-peeling station. On your kitchen table or counter, lay down some old bath towels, and get out your biggest bowls and pans. Assemble sharp paring knives. Now you’re ready!
Step Three: Dip Tomatoes.
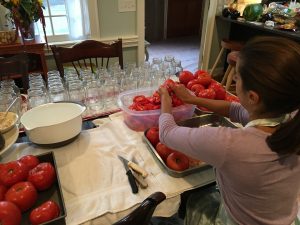
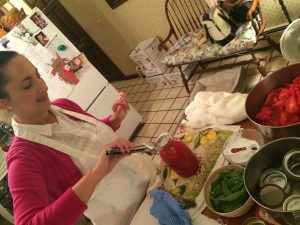
Submerge your tomatoes into your big pot of steaming-hot water for two-three minutes, until the skins crack. Retrieve your tomatoes, using a slotted spoon or strainer, one by one, and submerge immediately into your (adjacent) pot of cold water. Move from cold water into large pans, and carry to your peeling station. It helps to have several people working the tomatoes through these stations. As you can see, the tomatoes can really stack up if you don’t have more than one person peeling!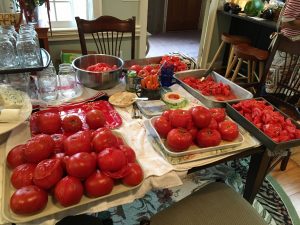
Being able to dedicate one or more people to peeling and one or more people to dipping is a huge luxury and a big part of the joy of Calvano Tomato Day. Here are my mom, my sister, Susanne, and my Elizabeth. I don’t know how my other sister, Maria, always avoids photos on Tomato Day, but she’s in there, behind the lens.

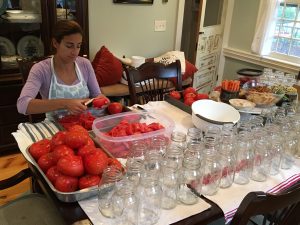
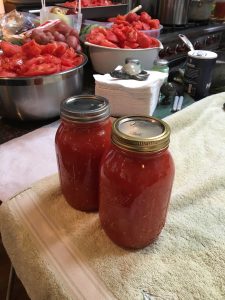
Here’s a nice big pan of dipped tomatoes that are ready to be peeled, and here’s me, manning the peeling station. And two giant pots of quartered tomatoes, ready to be cooked.

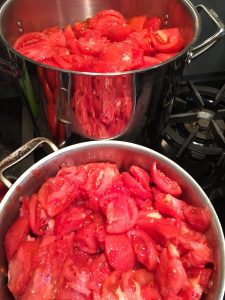
Step Four: Peel and quarter tomatoes.
Grab your sisters, your sharp paring knives and your dish towels and get to work on peeling, coring and quartering your tomatoes. A few tips: when in doubt, throw it out. You can not afford to allow one spoiled tomato to ruin an entire batch. If it’s too soft, smells a little funny, or could be spoiled, throw it away quickly and without allowing the juices to mingle with the good tomatoes you’ve already peeled and quartered. Pile up your skins and cores and pared bits– you will bury them in the ground to return their nutrients back to the earth (or compost) when you’re done.
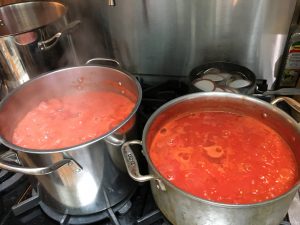
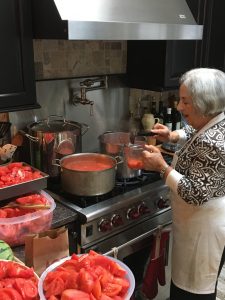
Step Five: Cook tomatoes down.
Cook your quartered tomatoes down on the stovetop, stirring frequently. Bring to a boil and cook at a boil for 30 minutes.
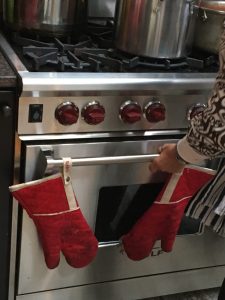
Pro Tip: on the back burner, bring your lids and rings to a boil in a saucepan full of water. You can do this in batches; we do ten – twelve at a time. This will heat and sterilize them. Get your kitchen tongs and potholders ready.
Now you’re ready to start canning!
Pro tip: While your tomatoes are cooking, move sterilized jars into an empty oven, set at 200 degrees, to make sure the jars will be the same temperature as the boiling hot tomatoes (to prevent cracking/bursting). As you fill jars, keep replacing cold jars into the warm oven so that you always have warm jars to fill.
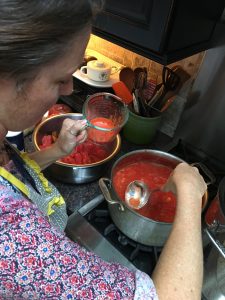
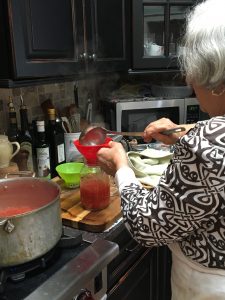
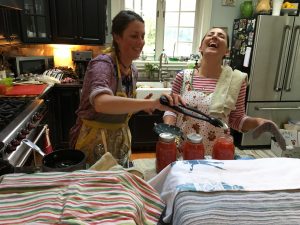
Pro tip: Skim the scum. Take a few minutes, before ladling the tomatoes into jars, to skim the bright red, frothy acidic “scum” off the top of the boiling brew… getting rid of this murky froth will yield nice clear quarts of finished product. Dump the scum down the drain. Here, my mom demonstrates this essential step. Isn’t she the most. On the right is my friend, Lynsey, an accomplished scum-skimmer in her own right.
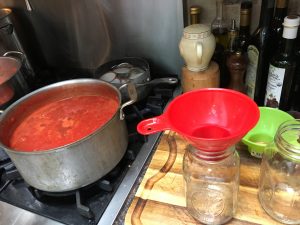
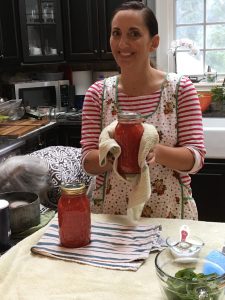
Step Six: Fill your jars. Ladle cooked tomatoes into each jar, using the canning funnel.
Add (one teaspoon of) salt and (one-two leaves of fresh basil to each jar, then carefully place lid and screw on ring, loosely, using potholders and tongs, of course!
Set filled jars aside, 1/4 inch apart from each other, covered by a blanket or towel, and allow them to cool slowly. As they slowly cool, suction will be created and the seal on the lids will be activated. You’ll hear this as distinctive, satisfying “pop” sounds on your countertop all night long!
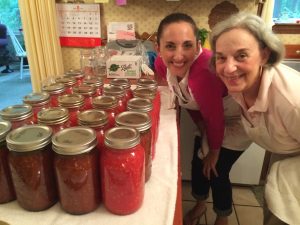
You’ve done it: you canned all of those gorgeous tomatoes, Calvano style. The fruit of the gods. The life force. Let those jars cool, make sure they are “popped,” or sealed, and you’re stocked. Pro tip: if any of your jars don’t seal, you can re-boil and re-can them! Or just make a pot of sauce with them right now and call it a day. Now, if you want to make sauce (of course you want to make sauce), just click right here, and away we go! Mangia!